*Refer to Chapter 2 in the video
We have put together some of our favorite advanced techniques for you to try in Vyond Studio. By combining simple shapes into groups and using delay on the enter effects, you can create a sense of wonder in your next video.
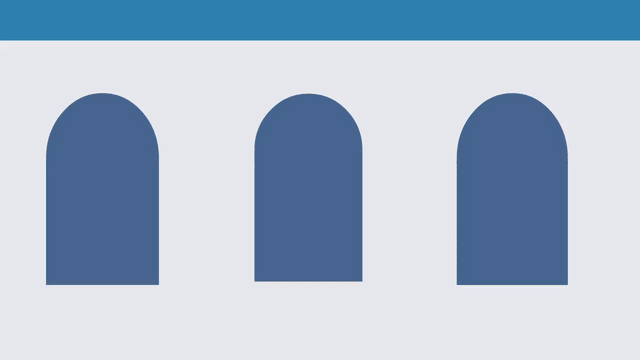
Step 1 – Geometric shapes are your building blocks
The library has many geometric shapes, which can be used together to create something more complex. These houses are made using just 4 shapes from the prop library.
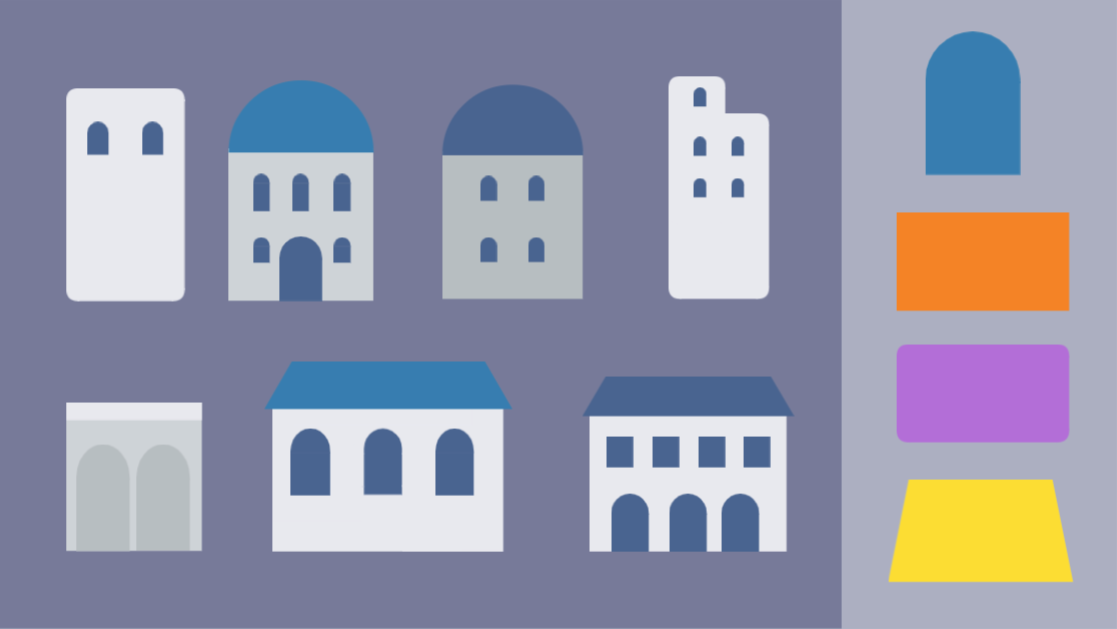
To try this yourself:
- Open up the Prop library and pick a shape, like an arch or square.
- To make a shape longer or wider, hold down the shift key and pull the edges to the desired length.
- Experiment with different shapes and color combinations to make a house.
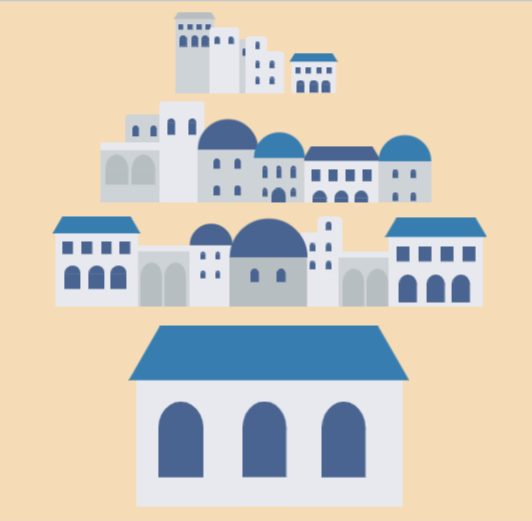
Step 2 – Group items and organize into rows
To create the sense of an aerial view over town roads, we line up a row of houses in the order we want them to appear.

To try this yourself:
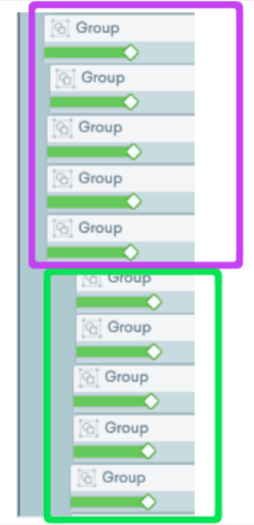
- Drag your cursor around the shapes that make up one house, and right click.
- In the drop down menu select Group. Now it’s easier to move each house as one item.
- Repeat the last two steps for each house.
- Organise the houses into rows. Decide which row will be in the front, middle, or back.
Learn more about how to group and ungroup props or other assets in this tutorial >
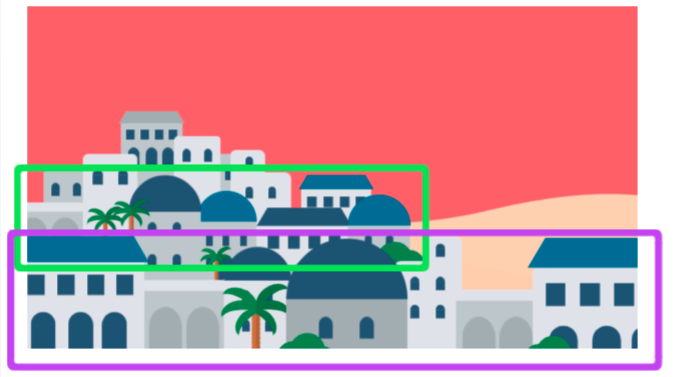
Step 3 – Set the enter effects
In the timeline, set the enter effects so that each row enters at a different time.
To try this yourself:
- Drag your cursor to select a row of houses.
- Set the Enter Effect to Slide – Up.
- In the timeline adjust the entry time for these items.
- Repeat steps for the next rows, but this time with a longer delay.
- Press Preview to see how.
Learn more about using enter and exit effects in this tutorial >
You can see in the example below, the first row of houses enter earlier (shown in purple) and those behind enter later (highlighted in green).
Step 4 – Set camera movement
The final step in creating this effect involves using the camera movement to tilt up.
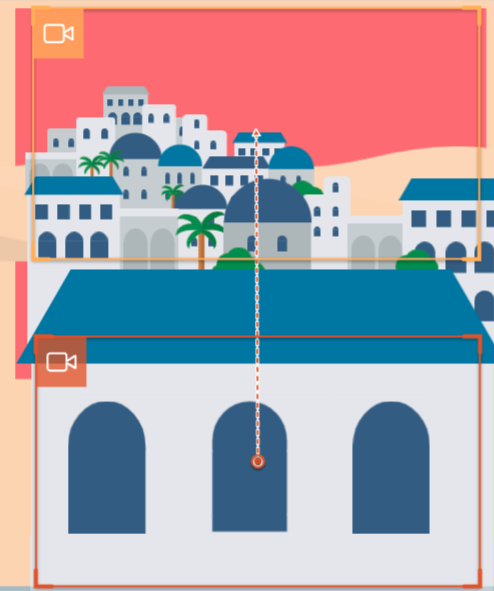
To try this yourself:
- Select the Camera feature and set the frame on the front row.
- Add a Camera Movement above the first frame so that the movement finishes on the last row.
- Adjust the timing and preview the result.
Learn more about how to use camera movement in this tutorial >
Share Your Feedback:
Please fill in a one-minute survey to help us continue providing you with high quality Vyond Studio experience in the future.