*Refer to Chapter 1 in the video
Ready to try out some advanced tricks in your next video? These tips will show you how to use animated props with static props, simple shapes to imply movement, and use camera and motion path effects together.
Trick 1 – Combine animated and static props to set the scene
The prop library contains plenty of animated props, which can be used together with static props.
To try this yourself:
- Open up the Prop library and select the “Subway window” prop.
- For this tutorial, right click on the prop and select Flip, to see the animation go from right to left.
- Add your character to the scene.
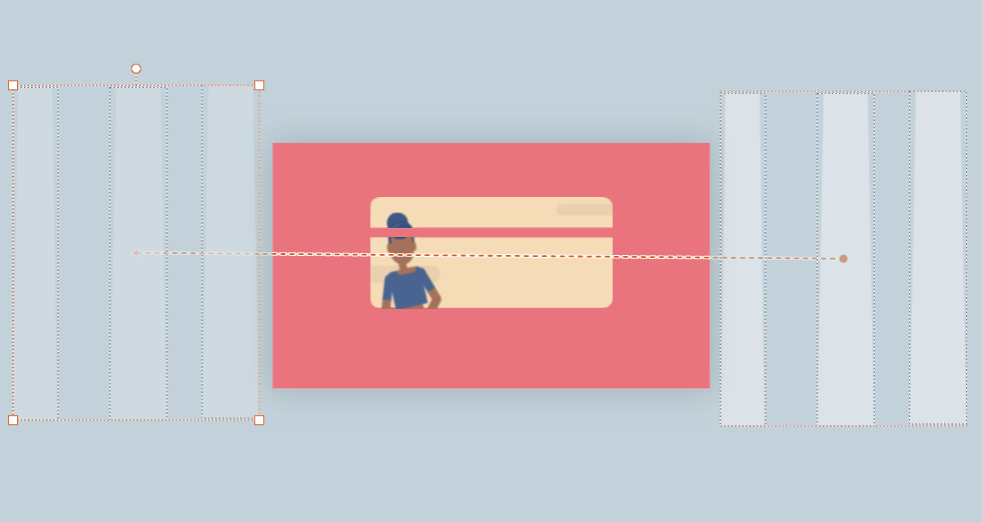
- Use a rectangle prop in the same color as the background to hide anything not visible from outside the train.
![]()
*Note: To make a shape longer or wider, hold down the shift key and pull the edges to the desired length.
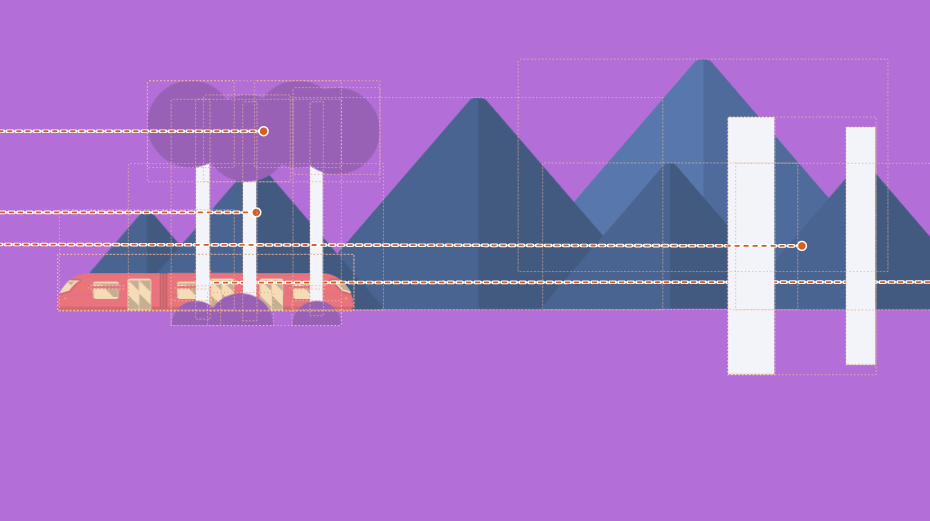
Trick 2 – Use simple shapes to create depth perception
Assets in the foreground are closer, so they seem bigger and move much faster. In this example, three long rectangles help create the appearance of the train passing through trees.

To try this yourself:
- Choose rectangle or trapezoid props.
- To resize them, hold the shift key and pull the edges longer.
- Group these together to the right of the stage.
- Use a Motion Path effect to move them to the left of the stage.
Learn more about motion path in this tutorial >
Trick 3 – Vary the size and speed of motion
You make a scene richer by adding depth levels. In the foreground, items appear larger and move faster. Background items are smaller and slower. In this example, the train moves faster, so it has a longer motion path.
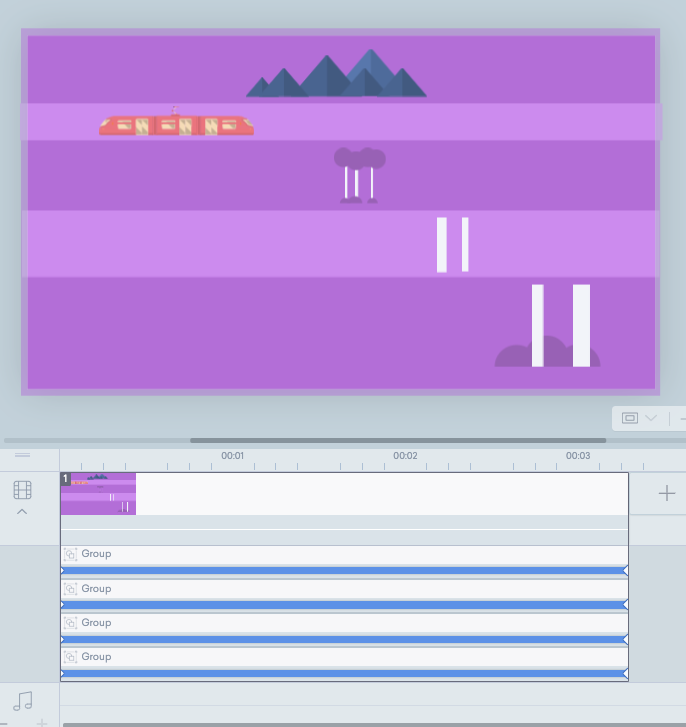
To try this yourself:
- Use props to arrange a scene.
- Resize the props at the back to appear smaller, and the props at the front to be larger.
- Create a Motion Path for each group, moving the items from right to left. Except for the train, which is moving from left to right and off the stage.
Trick 4 – Use camera movements to follow the subject
Draw attention to the subject by making sure the camera is focusing on the right thing.
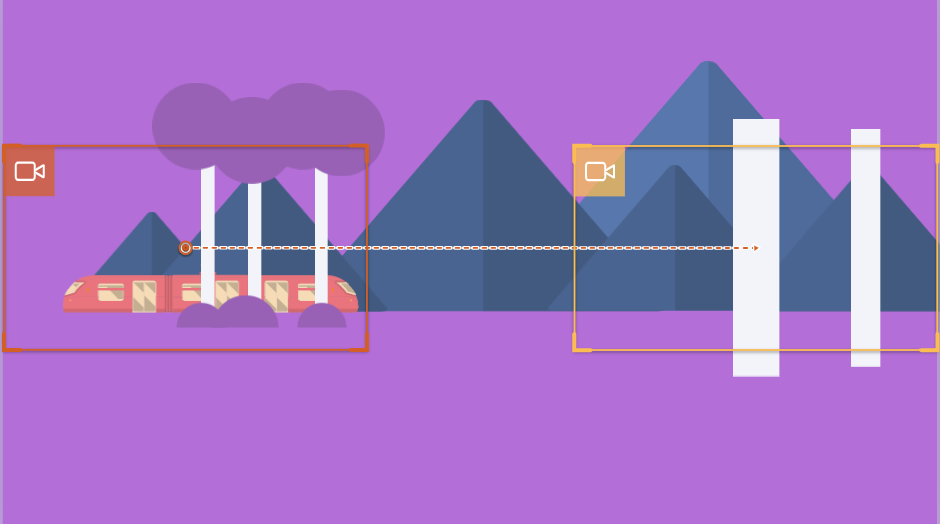
To try this yourself:
- Add a camera movement by clicking the camera icon in the toolbar and select Add Camera.
- Focus the frame over the start point for the subject, in this example it’s the train.
- Select Add Camera Movement and place the frame over the subject end point.
Learn more about creating and adjusting camera movements in this tutorial >

Share Your Feedback:
Please fill in a one-minute survey to help us continue providing you with high quality Vyond Studio experience in the future.